
All Jetpack CRM objects use our custom List View. This means that on most of them you can select which columns are displayed by default.
Contacts, Companies, Quotes, Invoices, Forms, and Segments all use this List View.
Changing columns on the Contact List:
First load up your contact list, and click the settings icon in the top right:

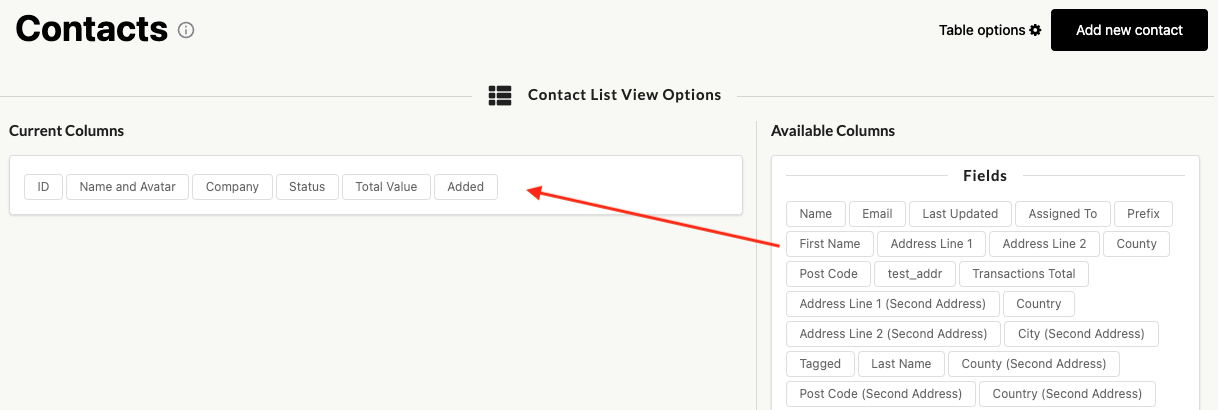
A new area will show up which allows you to reorganize your Contact list columns by dragging and dropping. From here it’s a simple case of picking the columns you want from the “Available Columns List” on the right hand side, and dragging them where you want them on the left hand side (which represents which columns you’ll end up with).
Click the same config icon at the top right to close this menu and view your new contact list (with your customized columns!). Alternatively click the ‘Save options and close’ button.