
The Jetpack CRM Google Contacts Sync extension requires you to use Google’s OAuth 2.0 service (a way of authenticating credentials) and generate a client ID and client secret for your CRM installation.
You will need a Google Cloud account if you don’t already have one. You’ll need a Gmail account to sign in.
Once you’re logged into Gmail, go to https://console.developers.google.com/apis/credentials.
Create a Project
Please note that the following instructions must be done per project; setting up an OAuth Consent Screen on one project does not apply to others.
You can create a project here: https://console.cloud.google.com/projectcreate
Please see Google’s Create a Google Cloud Project documentation for details.
Note: The Google user interface changes frequently and varies in different countries and languages. Because of that, things’ exact names and locations may differ slightly from what is noted below. You may find it helpful to use the search function within Google Developer Console to find what you’re looking for.
OAuth Consent Screen
Create an OAuth consent screen if you haven’t already done so. Google requires this, so follow their on-screen instructions. There is more detailed information in their Configure the OAuth Consent Screen document.
If you choose External, you’ll need to add the email address(es) of any users you want to be able to connect to the Google People API.
Click on Add Users and add the address(es):
Enable People API
You’ll also need to make sure the People API is enabled. You can do this by clicking on Enabled API and Services and see if it’s listed there:
If it is NOT listed there, click on Enable API & Services at the top of the screen:
Search for People, and select Google People API. You can then enable it.
Create API Key
Now, click Credentials in the left menu, followed by + Create Credentials at the top of the page.
Choose API key.
You can always find the key by going to Credentials , and either a) clicking on Show Key for the appropriate key, or clicking on the key name itself to see the key details/edit screen.
Create OAuth Client ID
Click Create Credentials again and select OAuth Client ID:
Choose Web Application.
The Name can be whatever you like.
The Authorized JavaScript origins URI should be your site address.
You’ll also need to enter a redirect URI to the Authorized redirect URIssection seen in the below screenshot, which should look something like this:
https://yoursite.com/wp-admin/admin.php?page=zerobscrm-plugin-settings&tab=googlecontact&zbs-auth-google-contact=1
The complete screen looks like this. Make sure to replace ‘crm.mystagingwebsite.com’ with your own domain name.
Click Create.
Once done, you’ll be given your client ID and client secret.
Retrieving your Client ID and Secret
Go to your credentials dashboard. You should see an API key(s) and OAuth 2.0 Client ID(s):
Click on the Pencil icon on the right-hand side of the Client ID:
Your client ID and secret can be found on the edit page:
Back to CRM Google Contact Sync (Google Contacts Connect)
Return to the Google Contact Sync settings page, and copy and paste your Client ID and Client Secret from the Google Console into the fields.
Click Save Settings. Then click on Authorise People API.
Sign Into Google
You’ll next be asked to sign in with Google. Be sure to choose the same account which you listed as a test user.

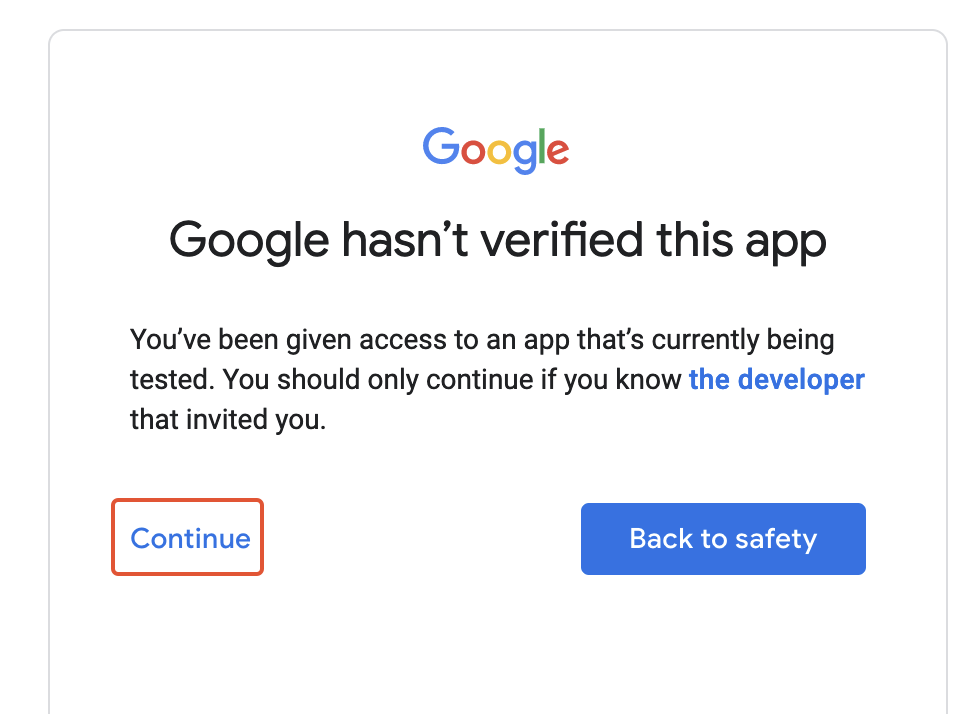
Press Continue.
Give permissions by clicking Continue.

You’ll be returned to the Google People Sync settings page.
Import your Google Contacts
Go to Tools in the upper CRM menu, and select Google Contacts:

You’ll then see a list of your contacts’ names and email addresses. Click Import Contacts.
Once the import is complete, you can view your new contacts in the Contacts list!
Troubleshooting
After clicking on Authorise People API, you may see the following error:

This is usually due to the URIs not matching in your Oauth credentials. Make sure they’re pointing to the same domain name.

See also:
- Google’s People API
- Configure the OAuth consent screen (Google)
- Create a Google Cloud Project