
So, you have your contacts in your CRM and are looking at your contact list. This is the central area of your CRM and this article delves into what is possible with this list.
Finding your contacts
You can find your Jetpack CRM contact list by going to Jetpack CRM → Contacts, or by going to Contacts → View All from the top menu on any Jetpack CRM admin page.
If you’re using the Full or CRM Only menu, you can get there by going to Contacts.
Your Jetpack CRM Contacts
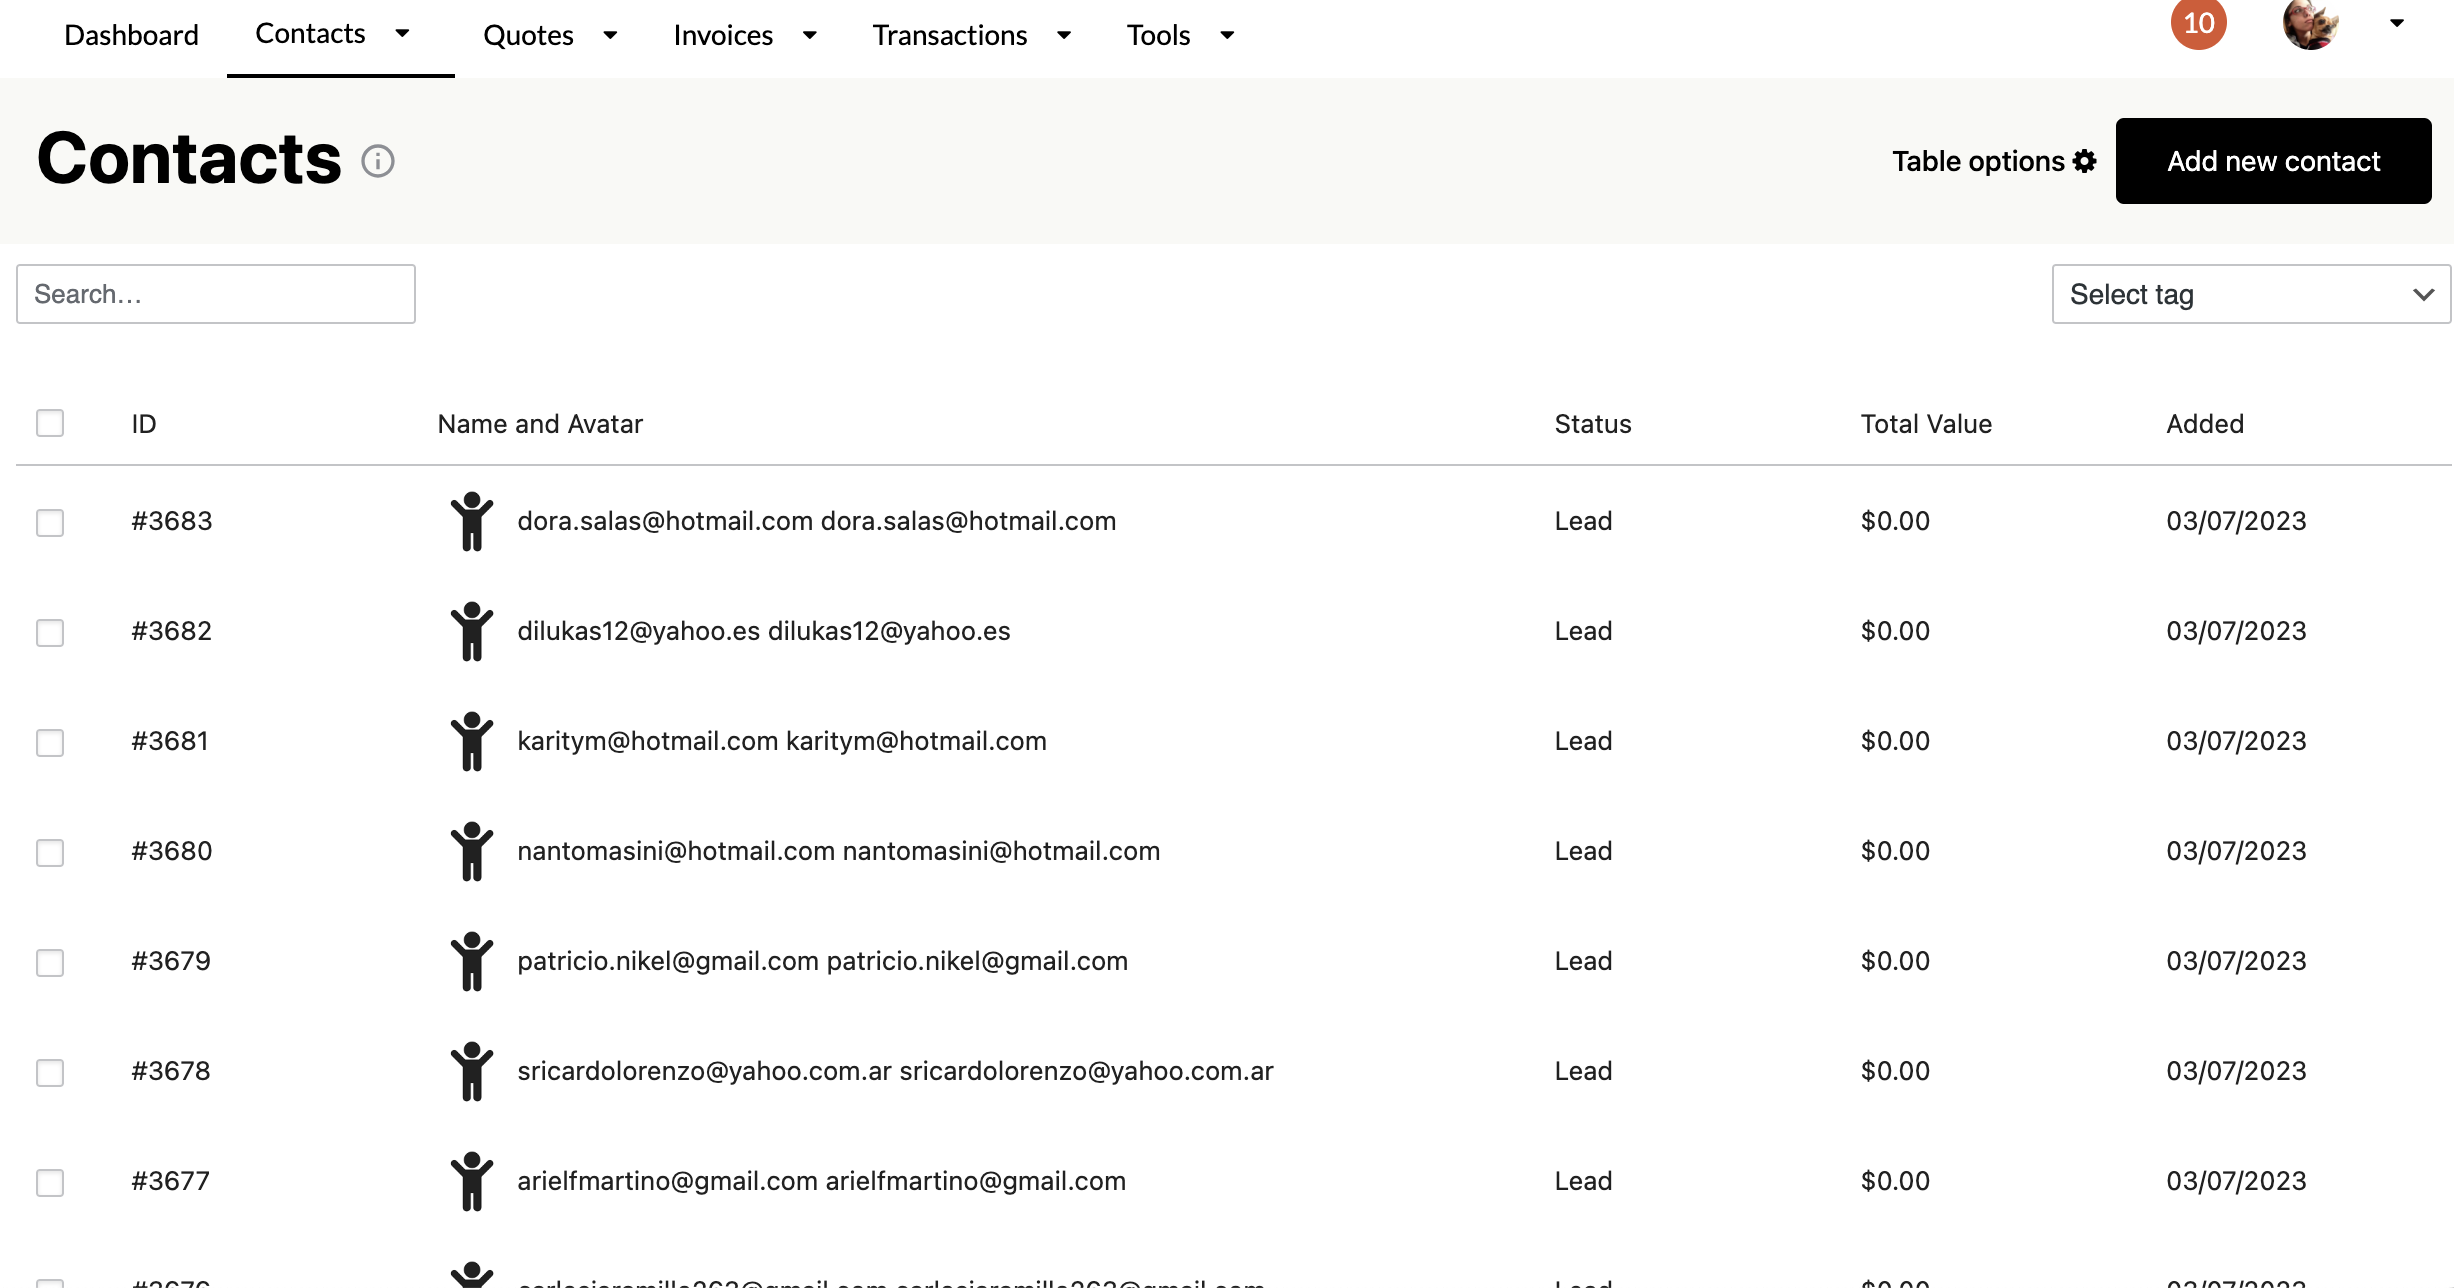
The list gives you an overview of your contacts in the CRM. You can filter the contacts based on the tags you’ve set up and applied, run searches, and decide which columns you want to see in the list.
The wheel icon at the top right opens up the Column Manager. This is where you can control which columns to show in the table.
Bulk Operations
There’s also the ability to add tags in bulk or remove tags. You can even delete your contacts in groups (if you want to prune your list for whatever reason).
Note that the ‘Remove tag(s)’ bulk action removes the tag from the selected contacts, but it does not delete the tag from your CRM. To delete a tag entirely, go to Contacts → Tags and use the Delete button next to each tag.
Sorting Contacts
Contacts are automatically sorted by ID number. You can sort by other values by clicking the column heading title, which will sort contacts in descending order (Z-A). You can again click the column heading title to sort in ascending order (A-Z).
For example, click the “Name and Avatar” column heading title to sort contacts by name.